
This is an older tut from last year but the image was missing. Here is the tut now with the image in place...
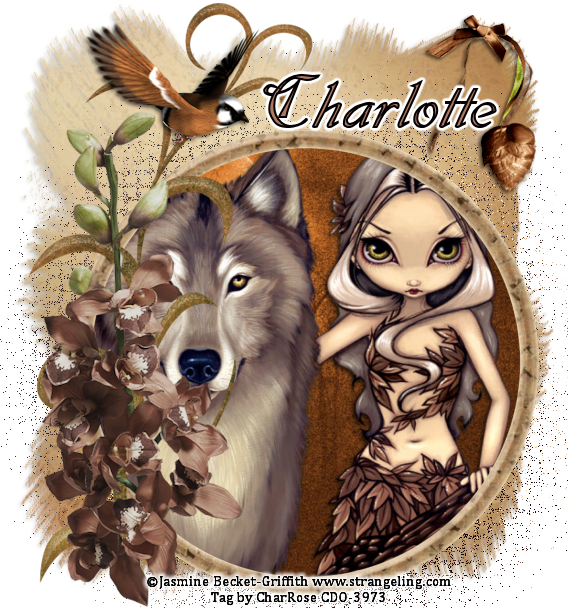
It is Called Nature Calls
Tube: I used a Jasmine Becket tube from CDO
ScrapKit: Chichi's Nature calls formerly PTU now FTU HERE
Mask: Chelles Mask 116 Her mask are located HERE just scroll down the side a bit. Her mask links are down the side.
Font: FTU Dobkin HERE
I used Eye candy Gradient glow on my name this is not needed you can always do without.
Please Note I use PSPX6 and resizing and settings may be different. Please resize and use settings according to what you are happy with as each program can be different.
Please Note I use PSPX6 and resizing and settings may be different. Please resize and use settings according to what you are happy with as each program can be different.
****************************************
New Image 650 by 650 with a white fill
Open Cluster_CD_NatureCalls from the kit
Copy and paste into our working image
Resize by 80%
Use your Elipse tool to draw a circle.
Stretch or shrink as needed.
What you want is for it to cover the whole
circle behind the cluster
Convert this circle to a raster
Now on this same circle go to
Selections--Select All--Selections--Float--Selections--Defloat
Open Paper 3
New Raster Layer... Copy and Paste Paper 3 into selection
on the new raster layer
Delete the circle
KEEP SELECTED
New Raster Layer
Copy your image and paste into selection
This will look great if your using an image
close to what I am using....
Give your tube a small drop Shadow
Duplicate your layer that has the tube on it..
Move this layer above the white layer
but under everything else.
To this layer apply the Mosaic antique with below settings
Columns and Rows 50--Symmetric Checked-- Tile diffusion 70
Grout width 5-- Grout diffusion
Apply the above one more time to same layer....
I at this time cropped off some of the extra I did not need
so I could properly apply my mask.
Copy and paste Paper 10 as a new layer. Place this layer all the way to the bottom
but above the white layer.
Apply Mask 116
Merge the mask layer...Duplicate this layer 2 times
On the bottom mask layer add a drop shadow
I used 2-2-64-5 and black
Open bird 1 copy and paste him into the working image
Resize by 40%... Place him on the leaves on the top left
corner of our image... Give same drop shadow as above
Open Bow 1 Copy and Paste into your working image
Resize by 40%... Place in the top Right corner on the edge of your
mask... Add same drop shadow.
Delete your White Layer
Add your copyrights
Add your name
I placed my name at the top in between the bird and bow 1
I placed it a bit to the right so it wasn't on top of the bird.
Save as a PNG and you are done...
I hope you enjoyed the tutorial would love to see what you do.
I will even showcase them here on this post..
I hope you enjoyed the tutorial would love to see what you do.
I will even showcase them here on this post..
Great tut and cute tag Charlotte, hopefully I will try it out soon. xx
ReplyDelete