
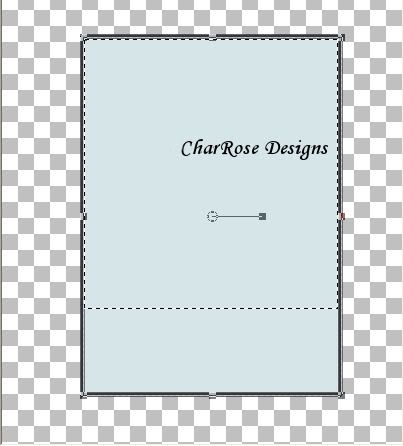
Heres what we will be making.

At the time I did this tut Mike Mall was online
permission one day I will fix this but for now it will
Remain...
This tutorial was written by Charlotte/Redrose. This may not be reproduced. Do not copy and pass the tutorial I have written around groups. You may link to it and if there are any issues with the tutorial Let me know on site or Private message me. All images and examples were made by Charlotte/CharRose and are NOT to be snagged or used anywhere else. Any Resemblance to another tutorial is purely coincidental.
Written on May 11, 2008
Tools Needed
Psp I used 10 but can be done in earlier versions
Animation shop
Tube of choice. Preferably a half body or a pair of legs like I have in example.
CopypasteintoAllLayers Script If you wish to use it. Or you can do it the other way. More info near bottom of tutorial.
Ok we ready now on to the tut....
Open a new image 400 by 450 Transparent.
Choose 2 colors from the tube a dark for the foreground and a lighter one for the background.
Choose Rectangle with a width of 5.00. Draw out a rectangle middle of your tag. Look at mine for a example.
Convert to Raster Layer.
Convert to Raster Layer.
Pick your selection tool. Draw out a selection like below
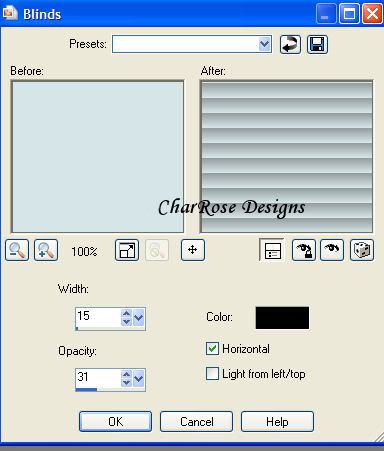
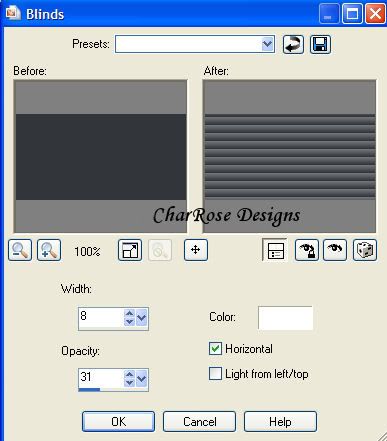
Effects-Texture Effects-Blinds with below settings.
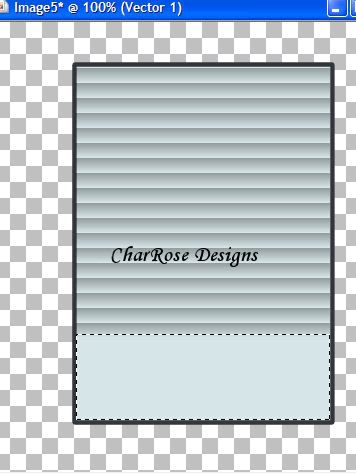
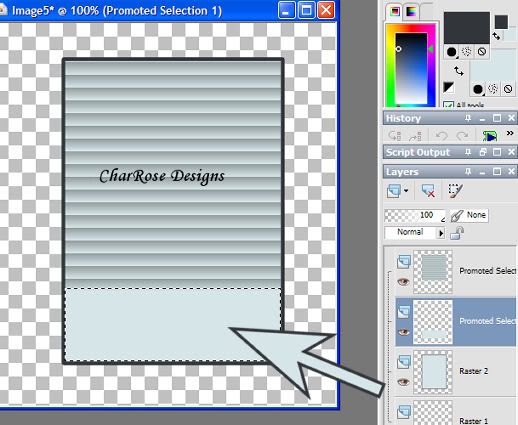
Pick selection tool again and this time select the bottom part like in below example.
Selections-promote selection to layer
Selections-Select none
Use your magic wand and click in the your small promoted layer Like below.
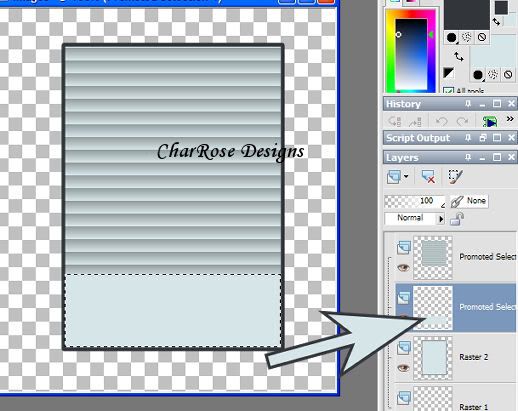
Should have
Floodfill with a dark color use blind settings as shown below.....
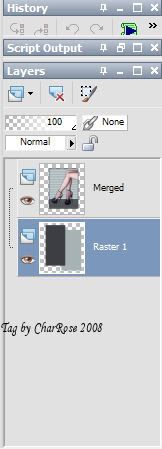
Select none and merge visible.
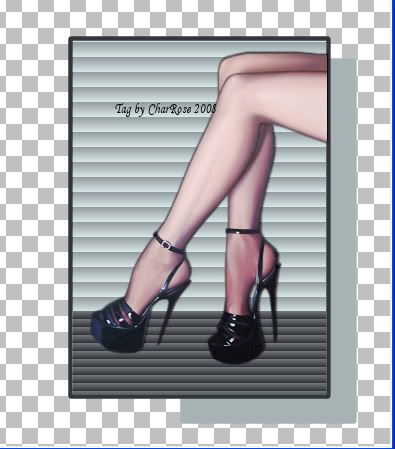
Copy and paste tube and fit the tube into your tag so you get sorta the effect you see in tag at top.... Like its coming into tag. It depends on the type of image you use.
Add dropshadow of choice.
Merge Visible.
Now make Foreground and background the light color from your rectangle. Choose Rectangle tool and draw out one and position like below.
Convert to raster layer.
Change your Foreground and Background color to the dark color from your rectangle. Choose your Rectangle tool again. Draw out one and position it like below.
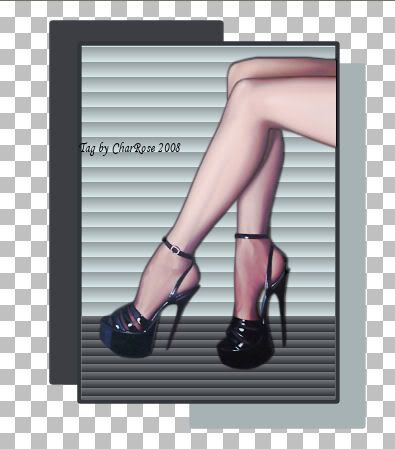
Merge the TWO layers you just made. DO NOT merge the top. Example below.
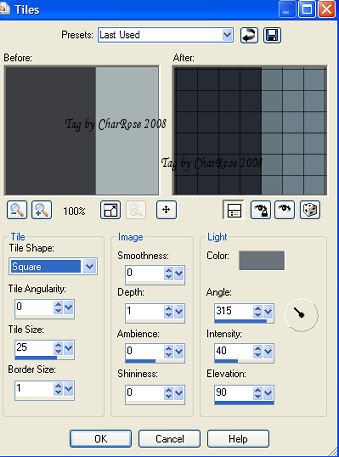
On your bottom layer go to Effects-Texture Effects-Tiles and use below settings.
If you are not going to animate than Add your copyrights and Name and place it on your tag as you normally would. If not animateing than save and you are done.
ANIMATION
If your animating I use the Copypasteintoalllayers script. Which is very easy to use. See my mini tut here. Or add your stuff as you are comfortable with. The above script is a lifesaver to any psper.
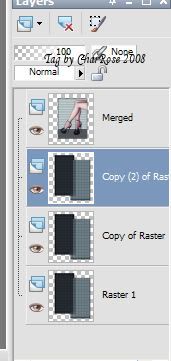
Duplicate your bottom layer 2 times to have a total of 3 bottom layers and your top layer. Like below.
On bottom layer: go to Adjust-Add/Remove-Add Noise. Settings: Uniform-Monochrome-25
On next layer up: go to Adjust-Add/Remove-Add Noise. Settings: Uniform-Monochrome-30
On next layer up: go to Adjust-Add/Remove-Add Noise. Settings: Uniform-Monochrome-35
If using the Copypasteintoalllayers script See below:
Click on your top layer which has your Image in it.
Down in your script make sure Copypasteintoalllayers is showing and click the play button...
Now go back to top.... Make a new layer. Add your name and your copyrights. Than On very top. Right click and merge down until you have your 3 bottom layers and one layer with your name and copyrights. Than make sure your on the top layer and run your script again.
If not useing the script Read here:
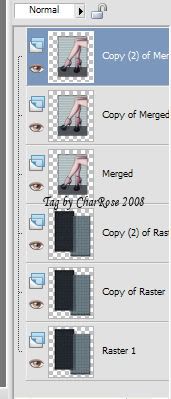
Duplicate your top layer 2 times like below.
Hide all layers. Unhide one noise layer and one tag layer. Merge visible. Hide your merged layer.
Unhide your next noise layer and one tag layer and merge visible. Hide this merged layer.
Unhide your last noise layer and last tag layer and merge visible.
Unhide all Layers. Add your Copyrights and Your name how you would normally do it.
Save as a psp image. Open in animation. Run animation if your happy than save and you are done.....
Ty for doing my tutorial.
I hope you enjoyed this tutorial any questions just ask....
No comments:
Post a Comment