
This tutorial was written by Charlotte/CharRose. This may not be reproduced. Do not copy and pass the tutorial I have written around groups. You may link to it and if there are any issues with the tutorial Let me know. All images and examples were made by Charlotte/CharRose and are NOT to be snagged or used anywhere else. Any Resemblance to another tutorial is purely coincidental.
Written on February 21, 2007

You will need psp
Tube of your choice you can get the one I used by visiting B.A.M.A tubes here
©Bobbie Allen www.bamacreations.yuku.com
©Bobbie Allen www.bamacreations.yuku.com
If you plan on doing your words the way I did mine DO NOT close out your tube after you copy and paste it later in the tutorail.
Ok Ready Lets go.........
Open a new image 450 by 450 or 400 by 400 your choice.......
Selections--Select all
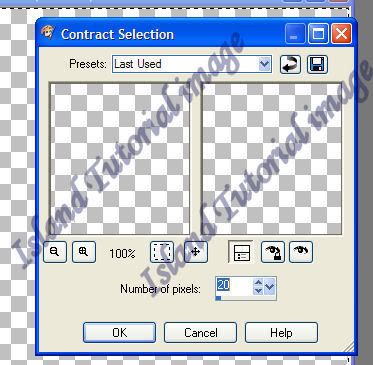
Selections--Modify--Contract
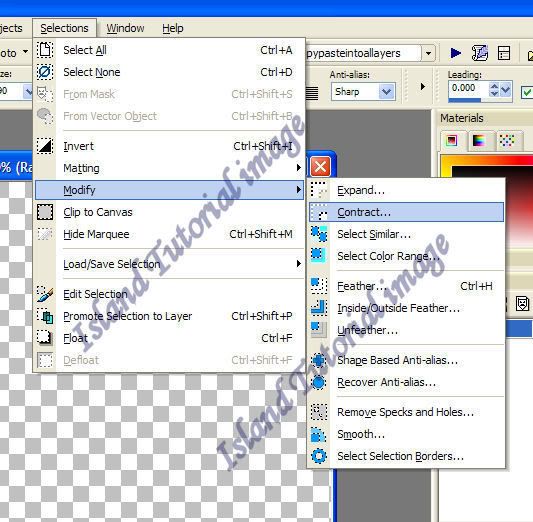
With these settings
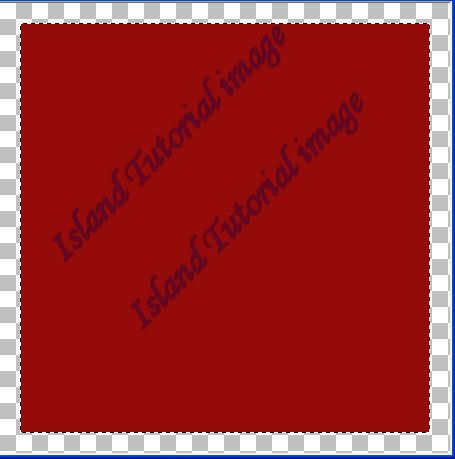
Pick a color from your tube, Click in the middle to floodfill ONLY the middle as in below example
Now go
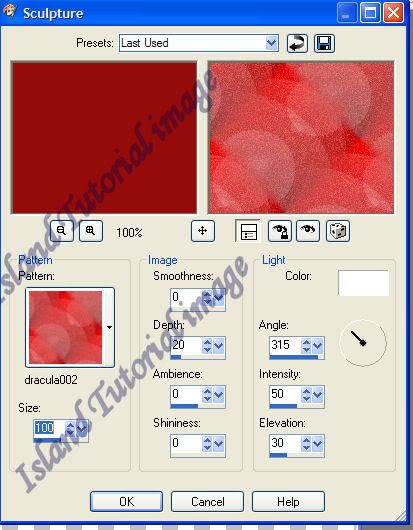
Effects--Texture Effects--Sculpture
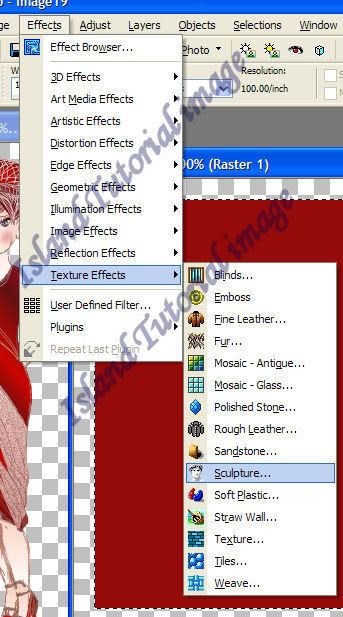
Settings as below (I used the dracula 002 in my pattern box. Choose a pattern that is good with your tube. If you don't have that pattern let me know or just use another one you have.)
Now go to
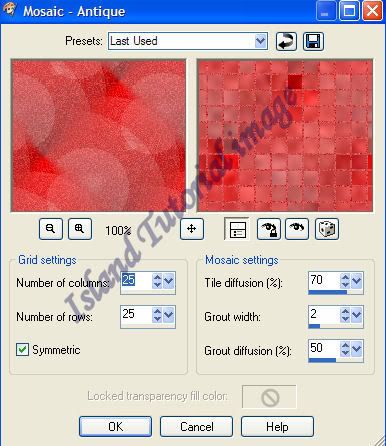
Effects--Texture--Mosaic Antique with these settings
Selections--Select none
Using your magic wand Click in the border area
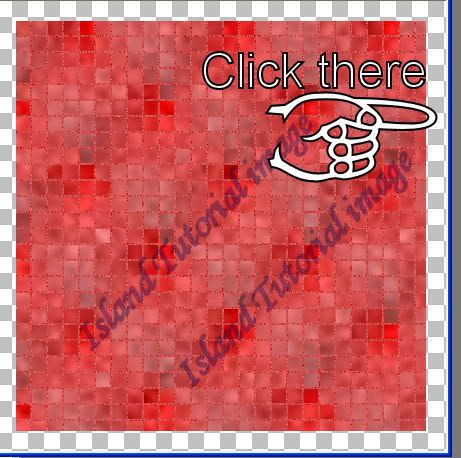
You should get marching ants marching around the border.... they will be marching around the outside of the red box and around the edge of the tag image........
Floodfill the border with a lighter color from your tube.
Than go
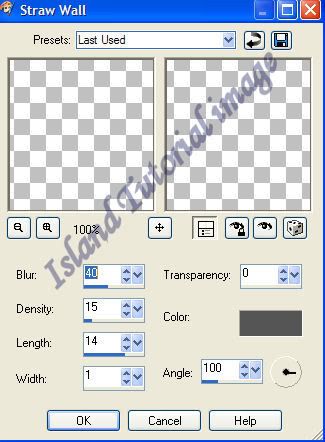
Effects--Texture Effects-- Straw Wall
with these settings
Selections--Select none
Copy and paste your tube on your background....... Resize as needed and postion it where you wish. I have mine in the lower right corner and resized it 80 percent.
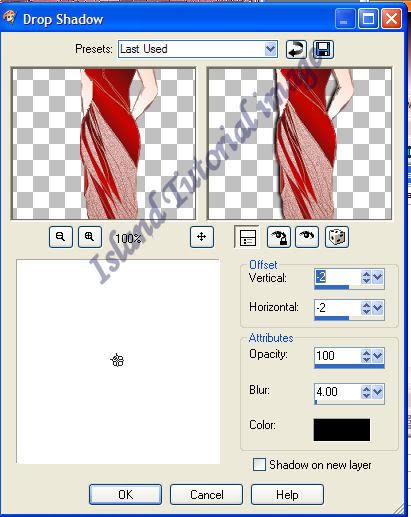
Now add a drop shadow to the tube we will do this twice......
First time this way
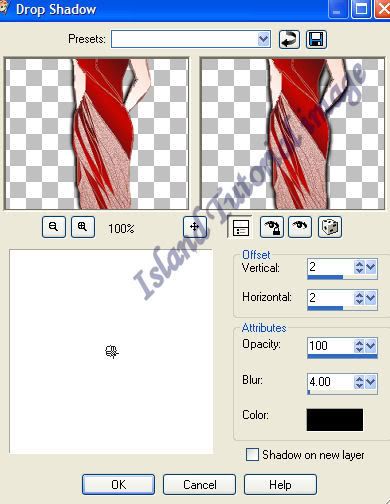
Second time Note the vertical and Horizontal changes
Add your copyrights and merge visible.....
Now you may add your words the way you wish or you can do it the way I did mine.
If going on.......
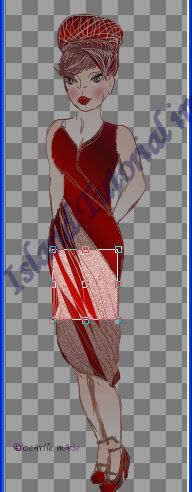
Find your tube bring it up....... find a part of it you would like as your background in your words.
Crop all but that selection out.
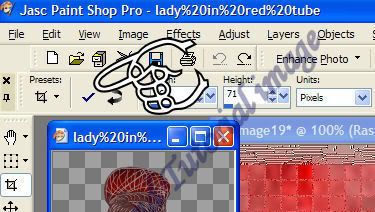
Click your crop button
Go to your foreground/Background for your words.
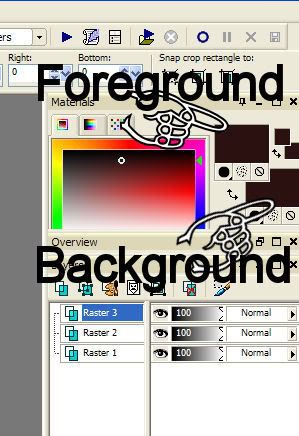
Foreground I made dark red from the dress......
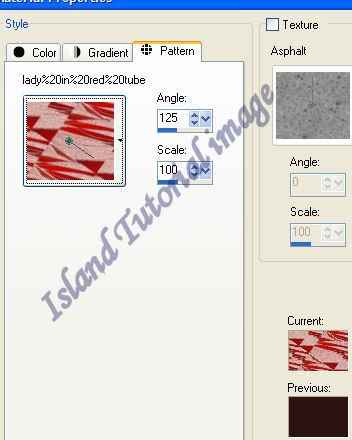
Background I made the pattern I had cropped. Settings as below.
I used secret for my font.
for the checking in part of the font. I used 48 size and 2.0 on stroke.
on my name I used 70 on size and stroke 2.0.
you may do sizing and ect as you wish though.......
I than added a drop shadow to my words........ with below settings

Merge and save and we are done 
I hope you enjoyed this tutorial any questions just ask....
No comments:
Post a Comment