
This tutorial was written by Charlotte/CharRose (Formerly known as Redrose). This may not be reproduced. Do not copy and pass the tutorial I have written around groups. You may link to it and if there are any issues with the tutorial Let me know on site or Private message me. All images and examples were made by Charlotte/CharRose and are NOT to be snagged or used anywhere else. Any Resemblance to another tutorial is purely coincidental.
Supplies needed
Psp (I used 10 can be done in earlier versions)
Mask by Chelle (included in supplies) Her site is down if anyone has a corrected link please let me know.
Tube of your choice you can get the one I used by visiting B.A.M.A tubes here (Also included in my supplies) This particular png file is on this page Fairies Post 3 ©Marilyn Allen
My supplies here
(The supplies has the mask,
the tube, and the circle You may of course make
your own circle.)
Tube of your choice you can get the one I used by visiting B.A.M.A tubes here (Also included in my supplies) This particular png file is on this page Fairies Post 3 ©Marilyn Allen
My supplies here
(The supplies has the mask,
the tube, and the circle You may of course make
your own circle.)
Are we ready???
Open a 550 by 550 Image. (will resize later).
Pick 2 colors from your tube dark for the foreground and light for the background.
Pick your circle on your ellipse tool with a width of 10.
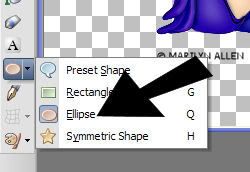
Draw a good size circle but not to big. See my circle for a average.
Than go to Objects Align center in canvas.
Convert to a Raster layer.
Click in Center of circle with your magic wand.
Than go to selection-modify-contract set to 3.
Hit delete on your keyboard.
(STILL SELECTED)
Make a new layer and move this below your circle layer.
Floodfill with a light color from your tube.
Layers-New mask layer-from image. Find mask wsl_mask89.
SETTINGS: Source luminance and invert mask click ok.
Merge group in layer pallette.
(STILL SELECTED)
Make a new layer and move it under your mask layer fill this with white.
Now Select none.
IF USING MY CIRCLE SCROLL DOWN TO ~USING PROVIDED CIRCLE~
If making your own read on here.
Hightlight your circle layer.
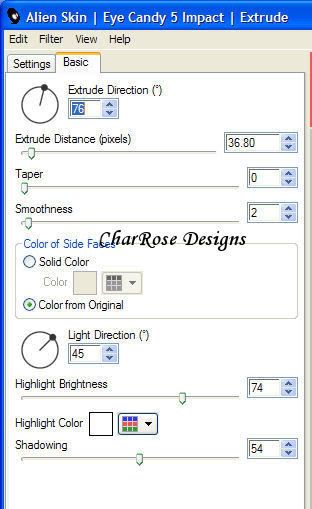
Go to Effects-plugins-Alien skin eye candy 5: impact-Extrude
with below settings.
Merge visible
Skip on to Pickup tut HERE if you made your own circle
~USING PROVIDED CIRCLE~
Delete ONLY your top circle layer
Copy cirlce I provided and paste as your top layer.
You can colorize to match your tag by going to Hue and Saturation.
Merge Visible
PICK UP TUT HERE
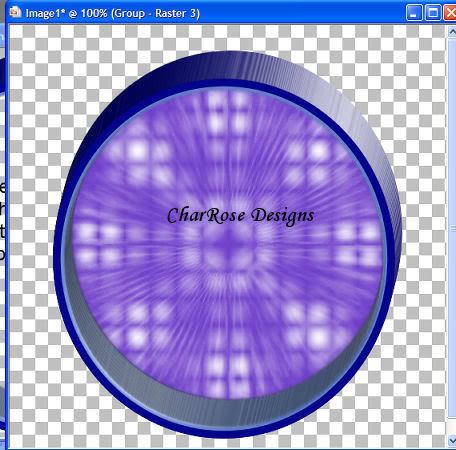
You should have below example as of now.
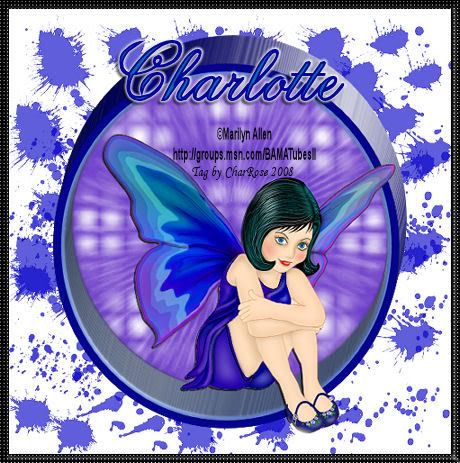
Copy and paste tube your using. If using the one I provided. You can select out the fairie... BE SURE TO REPLACE MARILYNS COPYRIGHT.
Postion tube to your liking. and add dropshadow of choice.
Merge visible.
Image Resize 90%
Add a new layer and move it to the bottom.
Decorate this layer with brushes or whatever you wish.
Merge all Flatten.
Image-Add Borders
Use Pixels 10 on all numbers. Color Black.
With Magic wand Select border.
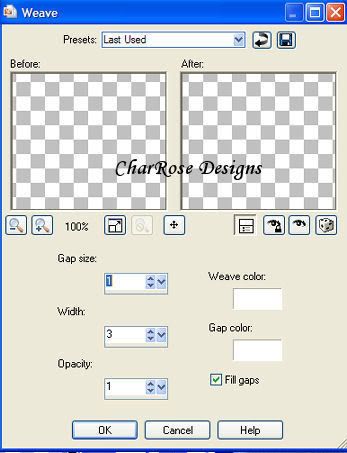
Effects-Texture Effects-Weave Below settings.
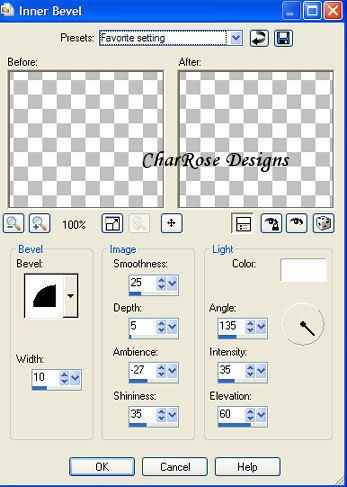
Effects-3d effects-Inner Bevel with below settings
Select none. Resize if needed.
Add your copyrights and your name.
Save and you are done....
Ty for doing my tutorial.
I hope you enjoyed this tutorial any questions just ask....
No comments:
Post a Comment