
This tutorial was written by Charlotte/CharRose. This may not be reproduced. Do not copy and pass the tutorial I have written around groups. You may link to it and if there are any issues with the tutorial Let me know contact information bottom of page. All images and examples were made by Charlotte/CharRose and are NOT to be snagged or used anywhere else. Any Resemblance to another tutorial is purely coincidental.
Written on May 11, 2008
Mask Blur
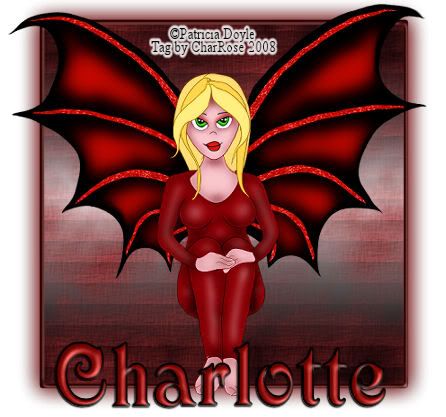
Heres what we will be making.
Tools Needed
Psp I used 10 but can be done in earlier versions
Mask 117-Kris Got this from PaintShopStop (Available in supplies)
Patricia Doyle Tube Available from her site here It is her RUBY/Dark Fae Ruby A bunch of different versions (Also Available in supplies)
Or you can use Mask and tube of your own.....
Download supplies here
Ok we ready now on to the tut....
Open a new image 500 by 400 and Transparent.
Pick a dark color from your tube for the foreground and a lighter one for the background.
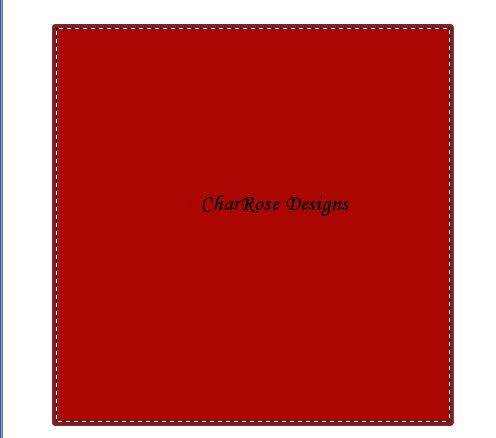
Pick your square tool with width 5.00. Draw out a square see my tag for a example. Than go to Objects-Align-Center in canvas.
Convert square to raster. Duplicate your square 2 times for a total of 3 square layers.
ON TOP LAYER
Select your magic wand and click in center of tag. You should have this below.....
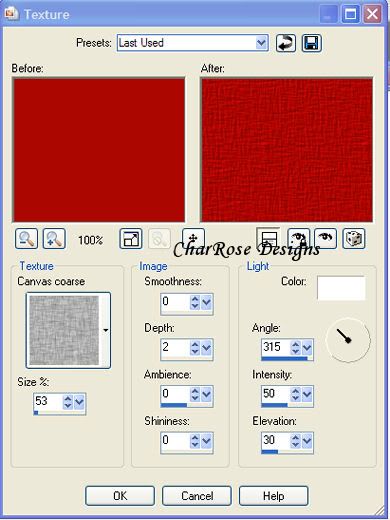
Now Click on Effects-Texture Effects-Texture Below settings
Hide your 2 bottom layer's by clicking on eye. The reason I do this is if you don't you won't be able to see if the mask is applied correctly..... or the way you want it.
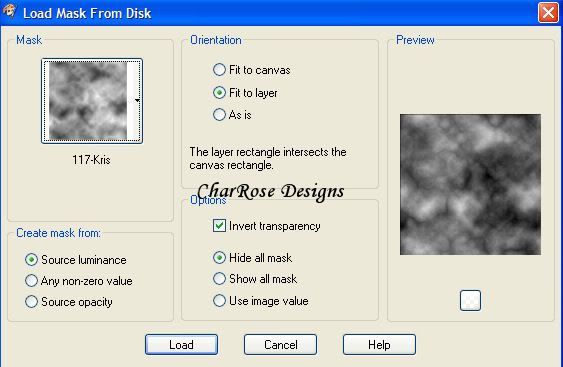
Now click on Layers-load mask from disk- Find mask 117-Kris and use below settings.
on mask layer in pallette Right click and
go to merge group.
Effect-Texture Effects-Blinds Below settings
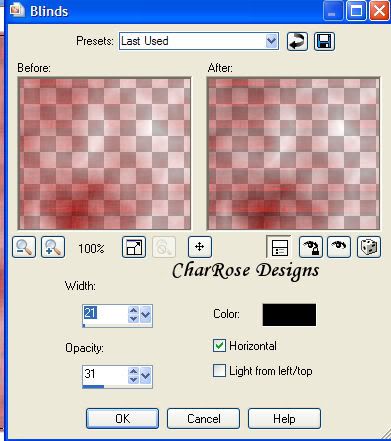
DO NOT DESELECT
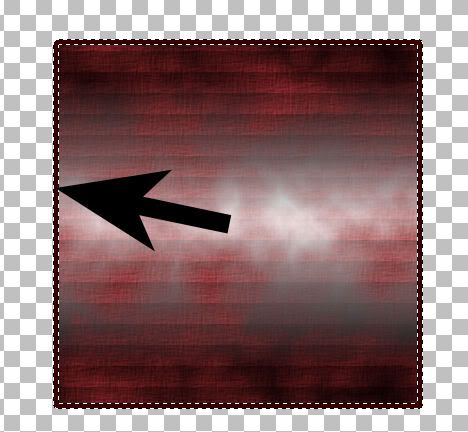
Go to second square layer. Pick a gradient or color of choice. I just played with colors till it gave me the look I wanted. I used a black and white Gradient.
Now select none. Grab magic wand and select your border.
Go to effects-3D Effects-inner bevel below settings
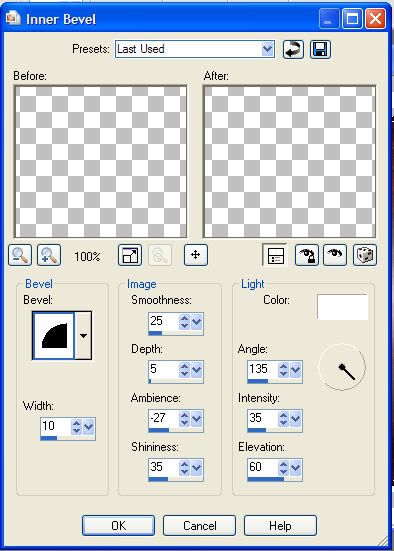
Click on top layer and repeat same inner bevel setting.
Select none.
On Bottom Square.
go to Adjust-Blur-Gaussian blur (Radius 10.00)
In layer pallette Duplicate bottom layer.
Right click layer pallette and Merge Visible.
Now take your tube and place the tube the way you want it. Resize if needed. Add a dropshadow of choice to the tube.
I used the Font Secret for my name.
With a inner bevel on the name..
Add your copyrights. Merge and crop off any extra.
Save as a Jpeg and you are done.
I hope you enjoyed my tutorial. Do not hesitate to contact me if you have any questions.
No comments:
Post a Comment